The early inventors of the internal combustion engine discovered that by creating a series of tiny explosions in closed chambers they could produce pressure that drove pistons up and down, turning wheels and propelling a vehicle forward. They immediately discovered, however, that this process also generated immense heat, sufficient to damage the engine parts and prevent the vehicle from operating before long. That required them to invent a cooling system that would lower the temperature in the engine continuously, and would need to be cleaned periodically. Hence the ultimate creation of the radiator flush kit.

The Invention of the Cooling System
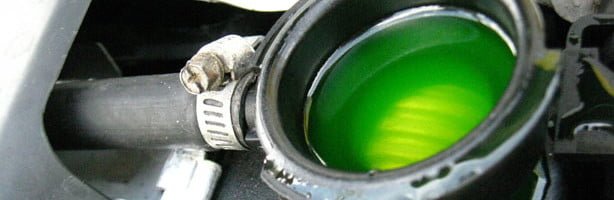
What these inventors devised was a system that pumped water in a circuit around and through the various heated elements, absorbing the heat and radiating it into the air through a box at the front of the engine compartment. Later they discovered that a more effective coolant included ethylene glycol, which raised the boiling point and lowered the freezing point of water, allowing it to remain fluid over 212 degrees Fahrenheit and under 32 degrees Fahrenheit.
Today’s automobile cooling system works incredibly efficiently with relatively little upkeep as the pump pushes the coolant through the system continuously when the engine is running. But when maintenance is necessary, it needs to be done quickly. Absent coolant, an engine will overheat and damage could begin to occur in less than a minute.
The two primary actions an automobile owner can take to ensure their cooling system is working is to keep the radiator full of coolant—a 50/50 mix of antifreeze and water—and to flush the radiator periodically, depending on the manufacturer’s recommendation in the owner’s manual.
Why the Cooling System May Require More Frequent Flushing
Your dentist may tell you to brush your teeth every morning and night, but you know if you’ve just eaten peanut brittle or caramel, you might want to brush your teeth midday too. The same holds true for flushing a cooling system: Certain symptoms may indicate a flush is in order despite how much time has elapsed since the last one.
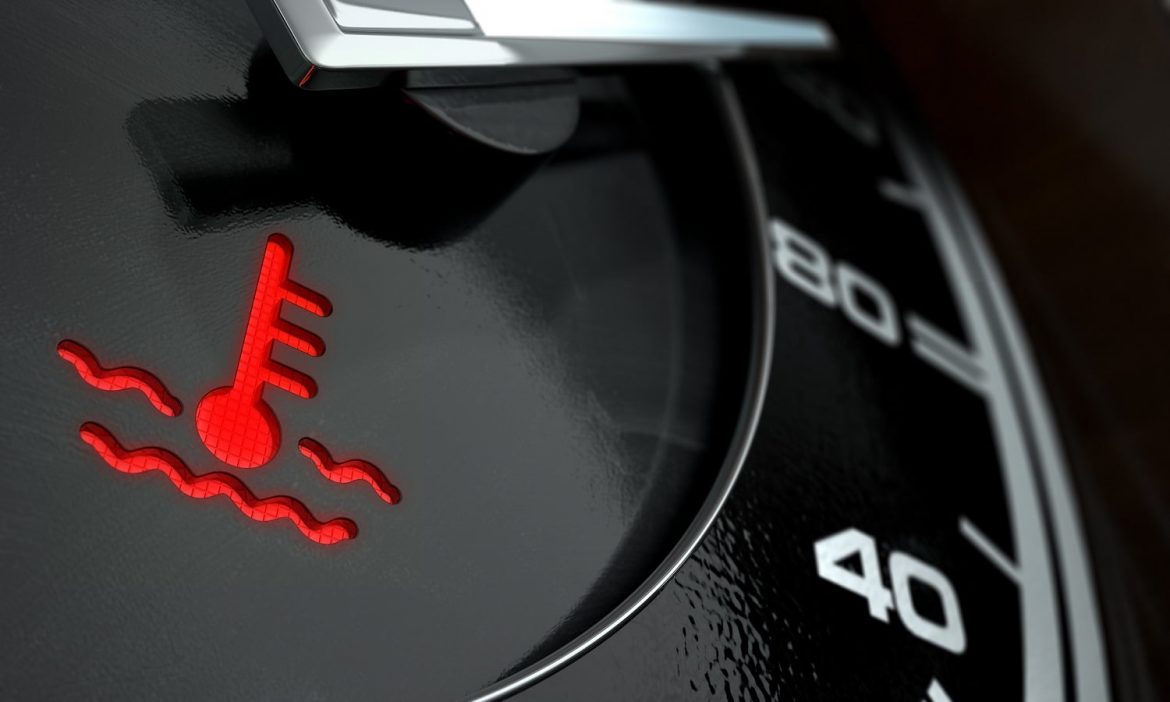
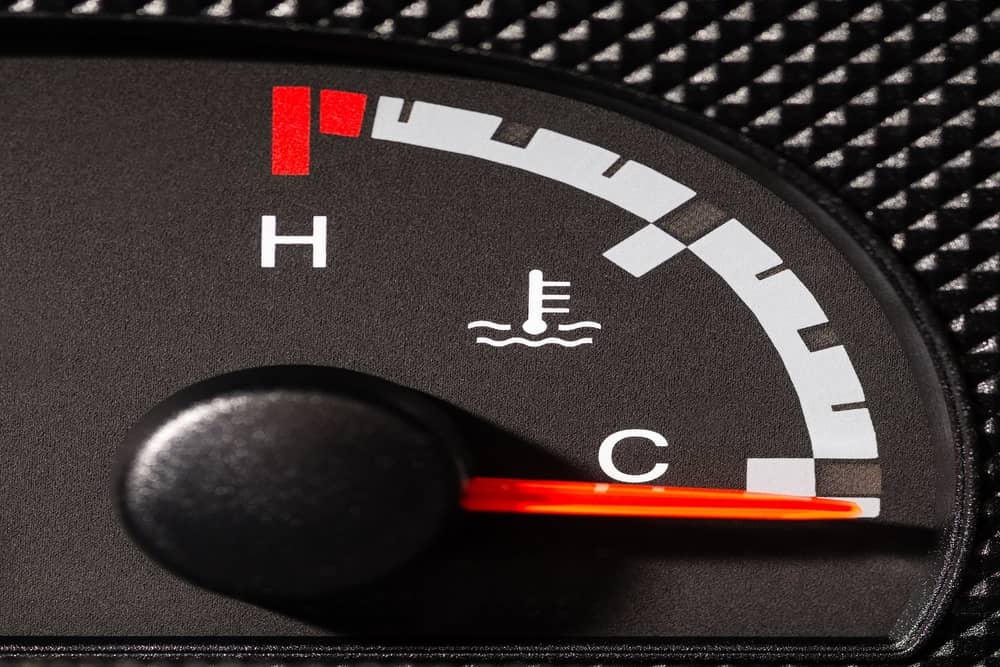
An overheating radiator is the most obvious sign. The most common cause of this is loss of fluid due to a leak. If there is no leak, the coolant is failing at its job and needs to be replaced.
A clogged radiator is a serious issue and should also be addressed with a radiator flush to remove the contaminants preventing it from allowing air to remove heat from the passing coolant. Any signs of debris, rust or corrosion indicate the need for a flush.
Flushing a Radiator with or without a Radiator Flush Kit
The cost to flush a radiator yourself is minimal. One way to flush a radiator is described here and requires little more than emptying the coolant, running water and radiator flush solution through it to clear out any gunk that may be clogging the system, and then running water through it repeatedly until clean, allowing the engine to run and cool each time.
Another method of flushing the cooling system is to purchase a radiator flush kit for about $5 at a nearby auto supply store. The kit includes:
- a backflow preventer coupler
- a splash deflector tube
- a back flow preventer coupler
- a pair of hose clamps
- a flush-and-fill tee
The kits can be used on just about any make and model car or truck.
The main advantage of using a radiator flush kit is time. With the flush kit, flushing can take place continuously using a garden hose rather than repeatedly filling the radiator.
How to Use a Radiator Flush Kit
A few simple tools are necessary to flush a cooling system with a radiator flush kit: a rag, gloves, protective eyewear, a garden hose and drain pan or bucket. A funnel might also be helpful. However, before you start, performing a routine flush with BlueDevil Radiator Flush & Degreaser is a great way to loosen debris and deep-clean your system before hooking up the hose to flush everything out.
Before embarking on a radiator flush, or doing anything with a radiator for that matter, make sure the engine is cool. Take a cloth and open the radiator cap, located at the top of the radiator. Allow any pressure to escape, then close the cap securely.
- Get beneath the front of the vehicle and find the radiator plug. It is usually at the lower corner of the radiator on the driver’s side, but if it is difficult to find, consult the owner’s manual. Place the drain pan or bucket beneath the plug and open the drain, allowing the coolant to drain into the pan, removing. Avoid contact with the coolant, which is toxic to skin. Once the coolant has drained completely, close the drain plug tightly. Dispose of the waste in a responsible way, not by pouring it down a house drain or into a storm drain.
- Inspect the hoses connected to the radiator. If any are cracked or brittle, replace them before proceeding.
- Locate the heater hose running from the radiator to the top of the engine and cut it using a utility knife. Insert the two ends of the hose into the two ends of the flush-and-fill tee, a t-shaped plug with a wider opening at the base of the “t.” Secure each end with hose clamps.
- Remove the cap covering the tee and attach the end of the back flow preventer coupler to it. Then screw a garden hose into the yellow end of the coupler. Do not turn the hose on yet. Remove the radiator cap and screw the back flow preventer coupler into it.
- Snap the splash deflector tube—the largest tube in the kit—into the radiator neck where the cap ordinarily sits. Start the engine and turn the heater on high before turning on the water to the garden hose. This will clean out any remaining coolant and debris.
- Continue flushing the system until the water exiting the splash deflector tube is clear. This indicates that all the loose grime and rust have been washed out of the system.
- Turn off the water and open the radiator drain plug to allow all the water to exit.
- Once the cooling system is flushed, remove the splash deflector tube and re-seal the drain plug. Pour a 50/50 mixture of water and antifreeze into the radiator until it is full. This is where the funnel may come in handy.
- Remove the garden hose and screw the cap back on the flush-and-fill tee.
- Let the vehicle idle for 10 minutes to allow the coolant to circulate. Allow the vehicle to cool, then check the coolant level and top it off if necessary.
- The flush tee and hose clamps will remain on the hoses and allow the flush to proceed even more quickly the next time around.
Why Flushing the Radiator Is Important
Flushing the radiator this way is fast and inexpensive, and using the garden hose allows for the process to continue without having to stop after each individual flush. The disadvantage of this process is the need to cut the hose and attach various pieces to the circuit. This introduces new opportunities for unforeseen consequences.
Flushing the radiator performs a series of valuable functions that ensure the cooling system will continue to perform its vital function in the engine. Following a radiator flush like that described above, here is all that has been accomplished:
Antifreeze/water mixture is replaced. The anti-corrosive additives in antifreeze eventually lose their effectiveness. This allows rust and dirt to build up in the cooling system, reducing the flow and cooling ability of the mixture. Cleaning out the old coolant and blasting away at the system with water from the garden hose paves the way for new, uncontaminated coolant to do its job.
It extends the life of the radiator. Rust and other deposits can build up in the radiator core over the course of five or ten years. A good flush removes the buildup and allows coolant to flow uninhibited. The longer a radiator can offer a free flow of air through the coolant running through it, the longer it will last and perform satisfactorily.
It ensures the integrity of the hoses. Hoses are the most common culprit when a cooling system fails. Rust and grime can cake the insides of hoses, just as plaque can build up in human arteries, constricting the flow of coolant and damaging the hoses over time. Cracked hoses allow coolant to leak and reduce its ability to remove heat from the engine. Flushing contaminants from the hoses extends their life. In addition, the hoses can be inspected from the inside at the point of the cut when using the flush tee.
The water pump lasts longer. Another common culprit in a cooling system failure is the water pump, which can collect impurities that were floating in the coolant passing through it. The flush cleans out the entire cooling system, including the pump and adds new antifreeze into the system to prevent any further buildup.
Keeping your radiator clean with the use of BlueDevil Radiator Flush & Oil Degreaser or a radiator flush kit will ensure your engine continues to run without overheating and causing damage to your engine.
BlueDevil Products can be found at AutoZone, Advance Auto Parts, O’Reilly Auto Parts, NAPA, Parts Authority, and other major auto parts retailers.
BlueDevil Products can be found on Amazon.com or at AutoZone, Advance Auto Parts, O’Reilly Auto Parts, NAPA, and other major auto parts retailers.
Related Articles
Search Blog
Subscribe

Blog Categories