 Performing a transmission fluid change is almost as simple as changing your engine oil. Almost. There are a few tricks you need to know in order to make the job simple, but with those trick in mind, a good mechanic’s tool kit, and the proper fluid, it should be a quick job any weekend mechanic can do.
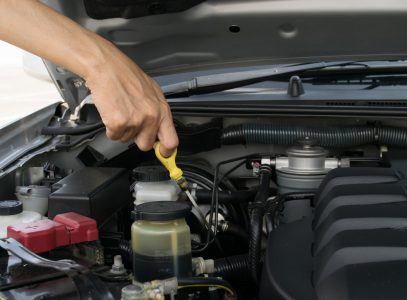
The first thing you should do before you change any fluid in your car is to check the current level of the old fluid. This is the best way to check for any leaks, even slow leaks. On most vehicles with automatic transmissions, checking the fluid level is just like checking your oil level. There should be a dipstick, usually to the rear of your engine bay that is either a yellow, black or red handle that says “trans” or otherwise indicates it’s for your transmission. If you pull that dipstick out you’ll notice it has two level markings on it, a “hot” and a “cold” level. Since there are no markings in between, it is best to have your transmission either hot or cold. Your transmission would be considered cold if your car has been parked for over 2 hours, and it would be hot if you’ve driven for more than 30 minutes. The other trick to checking your transmission fluid level is to make sure your vehicle is level, and in park with the engine running.
If you check your transmission fluid level and find it low, it would indicate a leak in your transmission. If you find this to be true of your vehicle, pick up some BlueDevil Transmission Sealer with your new transmission fluid. We’ll explain what to do with that later.
Once you’ve properly measured your old transmission fluid level, you’re ready to drain the old fluid. Make sure your vehicle is well secured, then crawl underneath with your wrench and your drain pan. Make sure your drain pan is big enough to handle all the old transmission fluid as it could be 4-6 quarts or more! Be very careful to locate the transmission drain plug, not your engine oil drain plug. Your transmission drain plug is often times smaller than the engine oil plug, and also often doesn’t hang as low on your vehicle. If you get confused, try to find where your transmission dip stick tube goes into your transmission pan. Another good point of reference is that your transmission drain plug should be the drain plug furthest away from your engine’s crank pulleys. Once you’ve got the right plug, carefully remove it and catch the drained fluid. Make sure to properly dispose of your used transmission fluid.
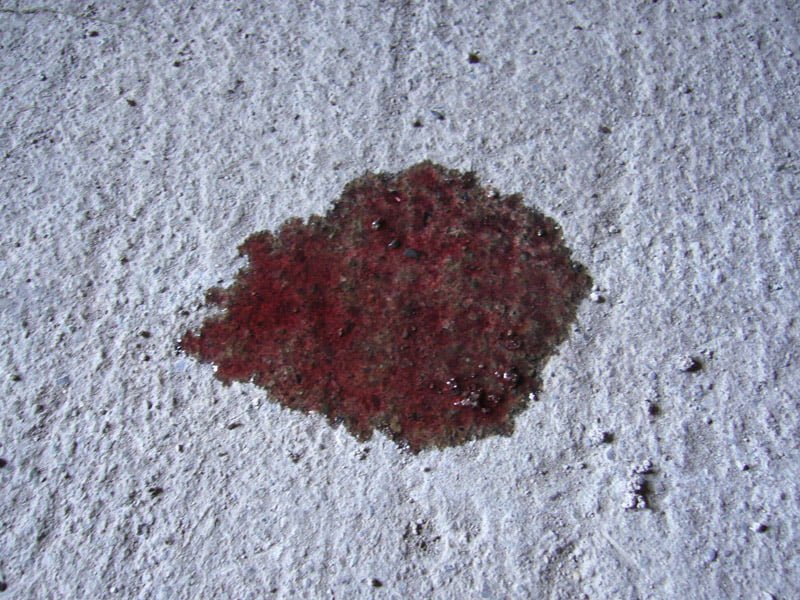
While you’re waiting for the old fluid to drain, take some time to check the underside of your car of leaks and drips. Check around the axle seals, the front and back of the motor, and the bottom of the radiator. You can also check for loose or broken rubber suspension components while you’re underneath. Once all the old fluid is drained, you can reinstall your drain plug. Be careful not to over-tighten the drain plug as most transmission pans are made of thin aluminum which can be easily stripped.
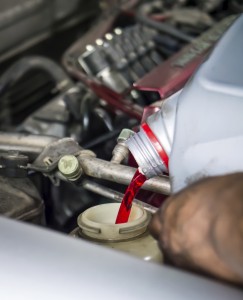
The last step is to fill your transmission with new fluid. The easiest way to do this is by using a funnel with a small bottom opening that fits into the transmission dipstick tube. It can take a while to add all the transmission fluid your vehicle needs through this small tube but, it is the cleanest and easiest method. Be sure to check your owner’s manual to make sure you’ve got the correct kind of transmission fluid for your vehicle.
If you discovered a leak while performing your initial level check, you can slowly mix in 1 ounce of BlueDevil Transmission Sealer with each quart of new fluid you add.
 Once you’ve added about as much new fluid as you drained out, you can start your vehicle’s engine and check the level. At this point, the new fluid is definitely cold so you’re checking to make sure your level is between the “cold” marks on the dipstick. Top off your transmission with fluid until the level is correct, reinstall your dip stick and you’re ready for a drive!
For more information about BlueDevil Transmission Sealer, check out our product information page here: Transmission Sealer
You can pick up BlueDevil Transmission Sealer along with your new transmission fluid at any of our partnering local auto parts stores like:
- AutoZone
- Advance Auto Parts
- Bennett Auto Supply
- CarQuest Auto parts
- NAPA Auto Parts
- O’Reilly Auto Parts
- Pep Boys
- Fast Track
- Bumper to Bumper Auto Parts Specialists
- S&E Quick Lube Distributer
- DYK Automotive
Pictures Provided By:
changing_transmission_fluid.jpg – By Chat9780 – Licensed by Thinkstock Photos – Original Link
transmission_dipstick.jpg – By Zenstock – Licensed By Thinkstock Photos – Original Link
BlueDevil Products can be found on Amazon.com or at AutoZone, Advance Auto Parts, O’Reilly Auto Parts, NAPA, and other major auto parts retailers.
6 responses to "How to Perform a Transmission Fluid Change"
6 Comments
Leave a Reply
Related Articles


Can I switch brands as long as it is same viscosity? Like mine is LV rated.
Alan-
Thank you for your question. As long as you are still using the factory recommended transmission fluid for the vehicle, switching the brand of fluid should not be an issue.
Thank you!
-BDP
Can I put my bluedevil transmission sealer through the transmission dipstick?
Audel-
Yes, that is the easiest way to add BlueDevil Transmission Sealer. You should add 1 ounce of BlueDevil per every 1 quart of fluid capacity. Expect to start seeing results after about 100 miles of driving.
Thank you!
-BDP
should I add the transmission sealer BEFORE I change the filter and fluid, let it run thru a 100 or more miles, or add the sealer AFTER i change the filter and fluid ?
John-
If you plan on changing your transmission fluid and filter within the next 300 miles, we recommend doing so first, and then adding the BlueDevil Transmission Sealer to your new fluid. Otherwise, you would be fine to add the product to your existing fluid. You should expect to see results after approximately 100-200 miles of driving.
Thank you!
-BDP