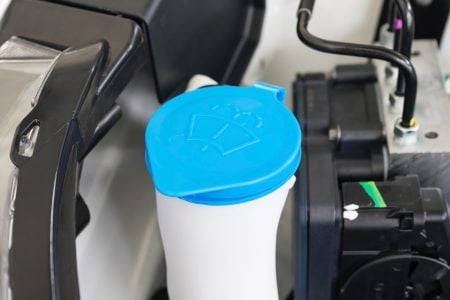
 Windshield washer fluid reservoir replacement is unique to each vehicle only in the location of the windshield washer fluid reservoir. Besides the location you’re working in, almost every car on the road today will have the same procedure for replacing the reservoir. You may have to replace your windshield washer fluid reservoir because it cracked from freezing fluid or from an accident but either way it should be a relatively straightforward repair.
Windshield Washer Fluid Reservoir Replacement
- Remove Components Surrounding reservoir and its mounts
- Disconnect wiring and hoses
- Remove Reservoir
- Install the new reservoir in reverse order
Remove Components Surrounding reservoir and its mounts
The first step in windshield washer fluid reservoir replacement is to access the mounting bolts or clips holding in place. Most washer fluid reservoirs sit somewhere behind the front bumper or in the very front of the engine bay so often times removal of the front bumper of wheel well liner is required. Most windshield washer fluid reservoirs also hold about a gallon of fluid and are designed to fit into a tight space and are therefore oddly shaped. Make sure to remove all the components you will need to pull the reservoir out of its mounting location.
Disconnect wiring and hoses
Once you’ve gained access to the windshield washer fluid reservoir you need to remove the wiring to the washer fluid pump and any hoses connecting the pump to the washer fluid nozzles. Many washer fluid reservoirs will have 2 pumps each with their own wiring harness and hose to supply washer fluid to both the front and back windshields. If your new washer fluid reservoir already has pumps installed you can just disconnect the wiring and hoses. Now is also a great time to replace any cracked or brittle hoses.
Remove Reservoir
Once you’ve got everything disconnects the next step is to actually replace the reservoir. If you did a good job in step one, this should only include taking out any mounting bolts or clips and pulling the old reservoir free.
Installing the reservoir in reverse order
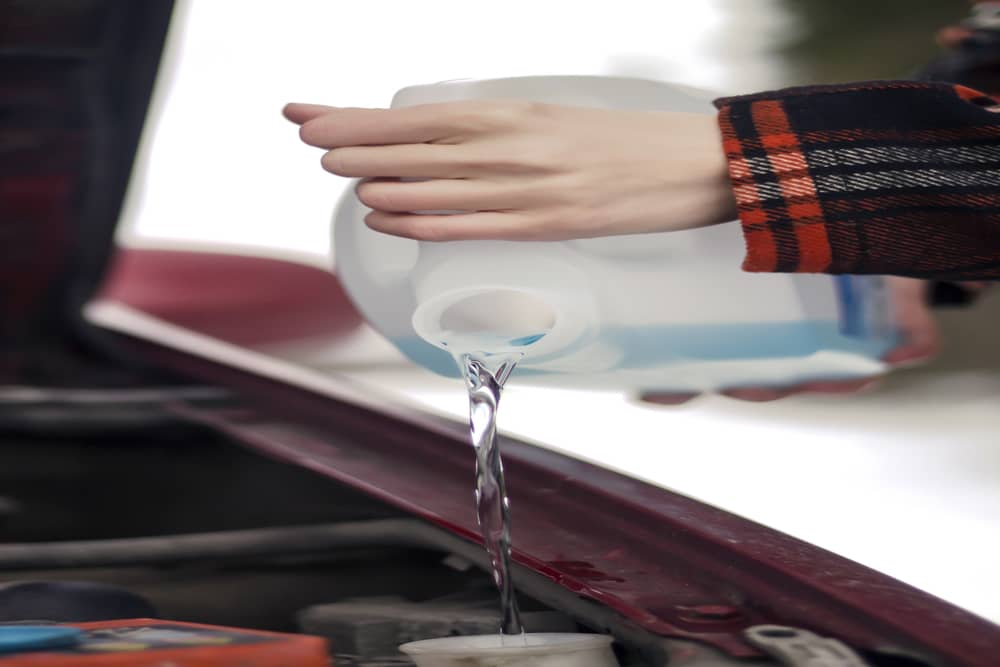
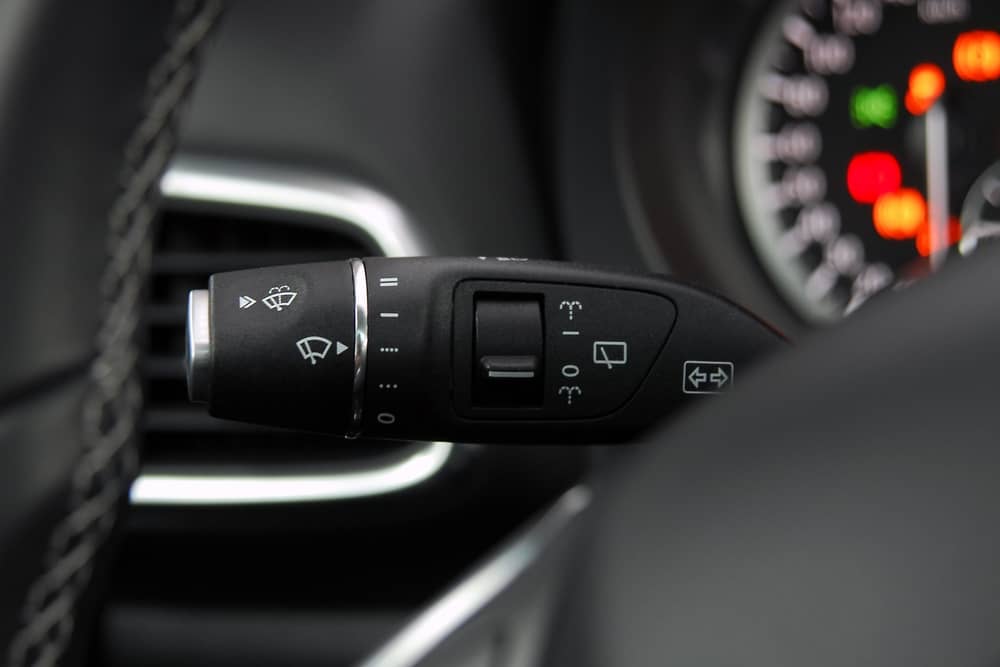
Installing the new reservoir should be straightforward now that you have the old one out. Our recommendation is to install the new reservoir, connect the hoses and wiring, fill it with washer fluid and try both the front and rear washers before you put the bumper and any shielding on. That way if there is a malfunction or your system requires further diagnosis you already have access to everything.
When it comes to filling your new windshield washer fluid reservoir, use BlueDevil Windshield Washer Fluid Concentrate. BlueDevil Windshield Washer Fluid Concentrate is a powerful washer fluid that can clean the toughest grime off your windshield without damaging any surface finish on your car and makes up to 16 gallons!
You can find BlueDevil Windshield Washer Fluid Concentrate at any of our partnering local auto parts stores like:
- AutoZone
- Advance Auto Parts
- Bennett Auto Supply
- CarQuest Auto Parts
- NAPA Auto Parts
- O’Reilly Auto Parts
- Pep Boys
- Fast Track
- Bumper to Bumper Auto Parts Specialists
- S&E Quick Lube Distributor
- DYK Automotive
- Fisher Auto Parts stores
- Auto Plus Auto Parts stores
- Hovis Auto & Truck Supply stores
- Salvo Auto Parts
- Advantage Auto Stores
- Genuine Auto Parts stores
- Bond Auto Parts stores
- Tidewater Fleet Supply
- Bumper to Bumper Auto Parts
- Any Part Auto Parts
- Consumer Auto Parts
Pictures Provided By:
windshield_washer_fluid_reservoir_replacement.jpg – By Pisittar – Licensed by Getting Images – Original Link
BlueDevil Products can be found on Amazon.com or at AutoZone, Advance Auto Parts, O’Reilly Auto Parts, NAPA, and other major auto parts retailers.
3 responses to "Windshield Washer Fluid Reservoir Replacement"
3 Comments
Leave a Reply
Related Articles

Need replacement windshield washer fluid reservoir and pump used Mazda 2003 protoge
Hi Paul, you can purchase used components or new pumps very cheaply. However the big problem is the amount of work that needs to be done to get them out. My 2001 Mazda 323 is difficult as you need to remove the front bumper bar and also disconnect up to 4-6 lights. There is around 2/3 screws inside each wheel arch and another 10 under the bumper and around 4/6 on the top edge. There may me another hidden two behind the wheel arch trim. After that it’s easy until you put it back together again.
Good luck 🤞
Im stuck for a WINDSCREEN RESERVOIR WASHER TANK Mk4 Astra van ,bloody nightmare can anybody help?